Proper dryer performance doesn’t depend solely on the machine itself—ventilation plays an equally crucial role. Installing a dryer vent hose correctly ensures safe and efficient operation. Poorly installed vents can lead to moisture buildup, extended drying times, and increased fire hazards. Understanding how to install dryer vent hose systems properly is vital not just for the appliance’s performance, but also for your home’s safety and energy efficiency.
Dryer vent hoses are designed to channel hot air, lint, and moisture from your dryer to the outside of your home. Without a properly installed vent, the dryer can’t breathe, and your laundry routine quickly becomes inefficient and potentially dangerous. This guide covers everything you need to know about installing a dryer vent hose, from understanding the types of venting materials to choosing the right tools, positioning the hose correctly, and ensuring a tight seal.
Why Dryer Vent Hose Installation Matters
If your dryer is taking longer than usual to dry clothes or the laundry room feels unusually warm and humid, your venting system may be the culprit. Improper installation of a vent hose can restrict airflow, leading to overheating and increased energy consumption. It can also contribute to dangerous lint buildup, which poses a serious fire risk. According to the U.S. Fire Administration, failure to clean and maintain dryer vents is one of the leading causes of residential fires.
Learning how to install dryer vent hose correctly helps you avoid these risks. It ensures the system is sealed, secure, and allows optimal airflow. A good installation also reduces wear and tear on your appliance, helping it last longer and operate more efficiently.
Choosing the Right Type of Dryer Vent Hose
Before you begin the installation process, it’s important to choose the right type of vent hose. Options include:
- Foil Flex Ducts: Inexpensive and flexible, but not the most durable or fire-resistant.
- Semi-Rigid Aluminum Ducts: More rigid and durable, a popular choice for many homes.
- Rigid Metal Ducts: The safest and most efficient option, although installation requires precise measurement and careful alignment.
Plastic or vinyl ducts should be avoided entirely. They are flammable and are no longer approved by most building codes.
When learning how to install dryer vent hose, consider not only the material but also the length and number of bends. The shorter and straighter the path to the outside, the better the airflow.
Tools and Materials You Need
Before starting the installation, gather all the necessary tools and materials. These may include:
- A new dryer vent hose (preferably semi-rigid or rigid metal)
- Vent clamps or metal foil tape
- A screwdriver or nut driver
- Tin snips (for cutting the hose)
- A drill (if installing a new vent hood)
- Caulk (to seal exterior wall gaps)
Having everything on hand before starting makes the installation smoother and avoids unnecessary delays.
Preparing for Installation
Start by unplugging the dryer and pulling it away from the wall. This provides space to work and reduces the risk of electrical accidents. If you’re replacing an old vent hose, remove it by loosening the clamps or tape that hold it in place. Check both the dryer and the wall or floor outlet for accumulated lint, and clean them thoroughly.
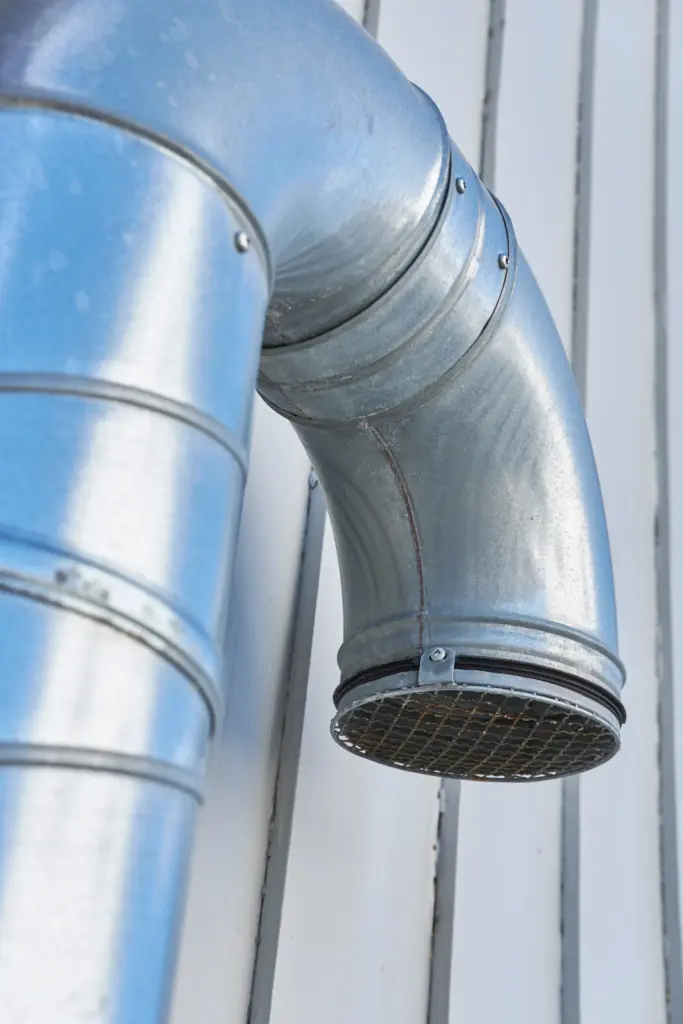
Inspect the existing vent hood on the outside of your home. If it’s damaged or not properly sealed, replace it with a secure, weather-resistant model. A good vent hood includes a flap or louver that opens when air flows and closes when the dryer is off, preventing drafts or pests from entering.
Understanding how to install dryer vent hose properly includes making sure all parts of the system—from the dryer to the wall and beyond—are clean, clear, and ready to accept the new hose.
Attaching the Vent Hose to the Dryer
Carefully measure the distance between the dryer and the wall vent. Trim your vent hose if necessary, leaving just enough length to create gentle curves rather than sharp bends, which can trap lint and restrict airflow.
Fit one end of the hose onto the dryer’s exhaust port. Secure it using a clamp or metal foil tape. Avoid using duct tape, which can deteriorate over time from heat. The connection should be tight and without gaps.
Next, attach the other end of the hose to the wall vent. Again, use a clamp or foil tape for a secure seal. Push the dryer back into position, taking care not to kink or crush the hose.
Ensuring a Secure and Safe Installation
Once connected, run the dryer on a short cycle and inspect the entire system. Check for air leaks at both ends of the hose, listen for unusual sounds, and feel for proper airflow outside the home.
If you notice reduced airflow, check for blockages or sharp bends in the hose. Reseal any loose connections and make sure the exterior vent flap opens easily when the dryer runs.
One of the most overlooked steps in learning how to install dryer vent hose systems is verifying that the installation promotes airflow while minimizing lint buildup. Small adjustments during this test phase can make a big difference in long-term performance.
Maintaining Your Dryer Vent Hose
Once installed, the work doesn’t end there. A properly installed dryer vent hose still requires regular maintenance. At least every six months, inspect the hose for lint buildup and clean the entire vent path, including the exterior vent hood. This not only keeps your dryer working efficiently but also protects your home from fire hazards.
Over time, even well-installed hoses can become loose or disconnected. Make a habit of checking the vent system any time you move the dryer or notice a drop in performance. Knowing how to install dryer vent hose systems is only part of the equation; consistent upkeep ensures it continues working as intended.
Internal Support from My Appliance Guy
If you’re in the Cleveland, Ohio area and aren’t confident in handling the installation yourself, My Appliance Guy is here to help. Our team provides professional dryer repair and vent installation services to ensure your appliance operates safely and efficiently. Visit our dryer repair service page to learn more.
Energy and Safety Benefits
A properly installed and maintained dryer vent hose can reduce drying times, save on energy bills, and extend the life of your dryer. It also significantly lowers the risk of fires caused by lint buildup and overheating.
The National Fire Protection Association emphasizes the importance of proper venting, as dryers account for thousands of house fires annually. Knowing how to install dryer vent hose systems correctly is more than just a DIY task—it’s a smart, safety-conscious move for every homeowner.
Final Thoughts
Taking the time to install your dryer vent hose properly can prevent a host of problems down the line. From ensuring strong airflow to avoiding fire hazards and saving energy, a little effort now makes a big impact later. Understanding how to install dryer vent hose systems gives you more control over appliance performance, household safety, and utility costs.
If you ever feel unsure during installation, reach out to a professional. For those in the Cleveland area, My Appliance Guy is just a phone call away at (440) 409-4541.
