Let’s get into how to install an LG Dishwasher. Installing an LG dishwasher correctly is crucial to ensuring it operates efficiently and safely. Whether replacing an old unit or setting up a brand-new one, proper installation prevents leaks, drainage issues, and electrical malfunctions. While some homeowners may prefer to hire a professional, installing an LG dishwasher is a task that can be completed independently with the right tools and attention to detail.
This guide provides a step-by-step process to help homeowners install their LG dishwasher successfully. From preparing the space and making electrical and plumbing connections to properly securing the appliance, each stage of the installation process is covered to ensure a seamless setup.

Preparing for Installation
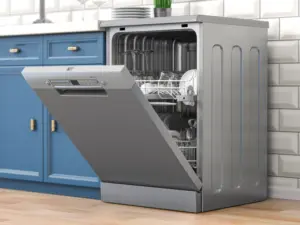
Before beginning the installation, it is essential to ensure that the kitchen space is ready. The dishwasher should fit securely under the countertop, with access to the necessary plumbing and electrical connections. Checking the dimensions of the available space and comparing them with the LG dishwasher’s specifications ensures a proper fit.
Confirming that the water supply valve and electrical outlet are easily accessible helps avoid complications during installation. Most LG dishwashers require a dedicated 120-volt outlet and a water supply line with the correct fittings. Ensuring that these connections meet manufacturer specifications minimizes potential issues after installation.
Removing the Old Dishwasher
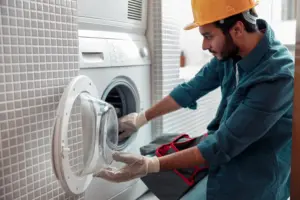
If replacing an existing dishwasher, disconnecting and removing the old unit is necessary before proceeding with the new installation. Turning off the power supply at the circuit breaker and shutting off the water supply valve ensures safety before disconnecting the appliance.
After removing the lower access panel of the old dishwasher, locating and disconnecting the electrical wiring, water supply hose, and drain hose allows the unit to be carefully pulled out from the cabinet. Ensuring that all remaining connections are in good condition before installing the new LG dishwasher prevents potential leaks or electrical issues.
For homeowners who are unsure about handling electrical components, seeking professional assistance is recommended. More details on appliance installation services can be found at on our website.

Connecting the Water Supply Line
The water supply connection is one of the most critical parts of dishwasher installation. Most LG dishwashers require a hot water supply line, which connects to the kitchen’s existing plumbing.
To install the water supply line, attaching a 90-degree elbow fitting to the dishwasher’s inlet valve allows for a secure and leak-free connection. After positioning the dishwasher near the installation space, connecting the flexible stainless steel water line to the elbow fitting ensures a tight and durable connection. Tightening the connection securely with a wrench helps prevent future leaks.
Before pushing the dishwasher fully into place, turning on the water supply and checking for leaks is necessary. Identifying and addressing any water leaks before securing the appliance saves time and prevents potential damage to surrounding cabinetry.
Installing the Drain Hose
Proper drainage ensures that the dishwasher functions without water backups or flooding. Most LG dishwashers come with a pre-installed drain hose, but positioning it correctly is crucial for effective drainage.
Securing the drain hose to the designated connection point on the sink’s plumbing or garbage disposal ensures proper water flow. To prevent water from flowing back into the dishwasher, creating a high loop in the drain hose is necessary. This method prevents dirty water from re-entering the appliance after draining.
For installations that require an air gap system, connecting the drain hose to the air gap fitting before attaching it to the sink drain ensures compliance with local plumbing codes. After securing the drain hose with clamps, checking for proper alignment and no kinks in the hose helps prevent drainage issues.

Making the Electrical Connections
An LG dishwasher requires a dedicated 120-volt electrical outlet, typically located under the sink or behind the appliance. For dishwashers that are hardwired rather than plugged into an outlet, ensuring that the power is completely shut off before handling any wiring is critical.
To connect the electrical wiring, accessing the junction box at the bottom of the dishwasher allows for proper wiring installation. Running the electrical cable through the provided strain relief fitting before making the connections ensures safety. Matching the black wire to black, white wire to white, and grounding the green or bare copper wire to the designated terminal completes the connection.
After securing the wires with wire nuts and confirming a firm connection, replacing the junction box cover prevents exposure to electrical components. Ensuring that the power supply is correctly configured before testing the dishwasher helps prevent electrical malfunctions.
Positioning and Securing the Dishwasher
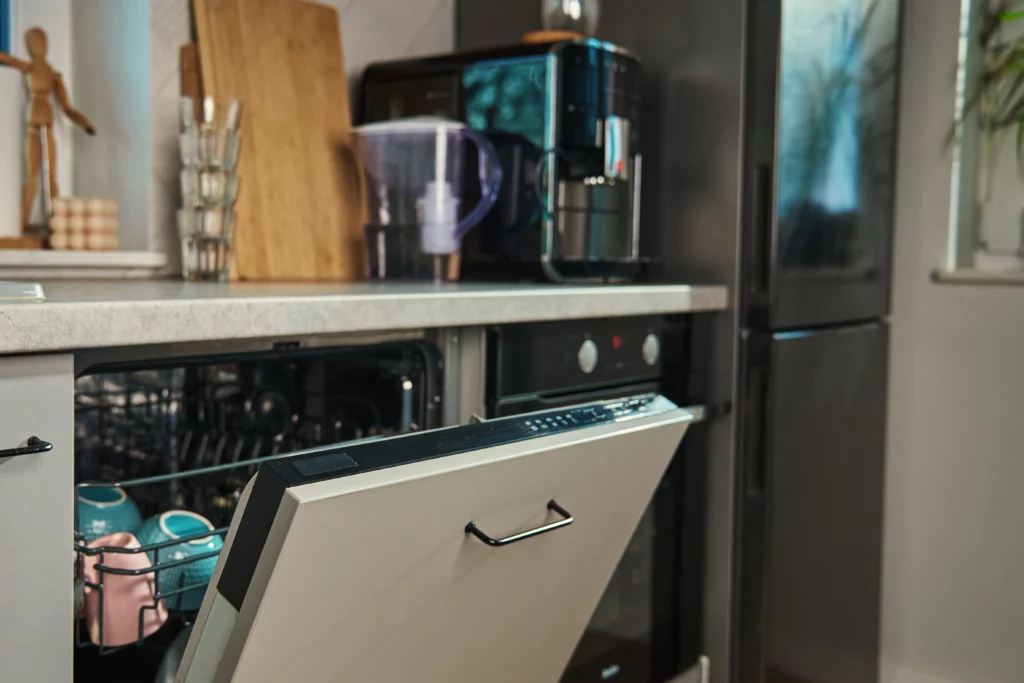
Once all connections are in place, sliding the LG dishwasher into its designated space while carefully guiding the water supply and drain hoses ensures a proper fit. Checking for level positioning before securing the dishwasher in place prevents uneven water distribution during wash cycles.
Using the adjustable leveling legs to balance the appliance ensures that the door opens and closes smoothly. Once leveled, securing the dishwasher to the countertop using the mounting brackets provided by the manufacturer prevents movement during operation.
If the dishwasher includes side mounting brackets for attachment to adjacent cabinetry, securing these brackets further stabilizes the appliance. Ensuring a firm installation minimizes vibrations and prevents potential damage to surrounding cabinets.
Testing the Dishwasher After Installation
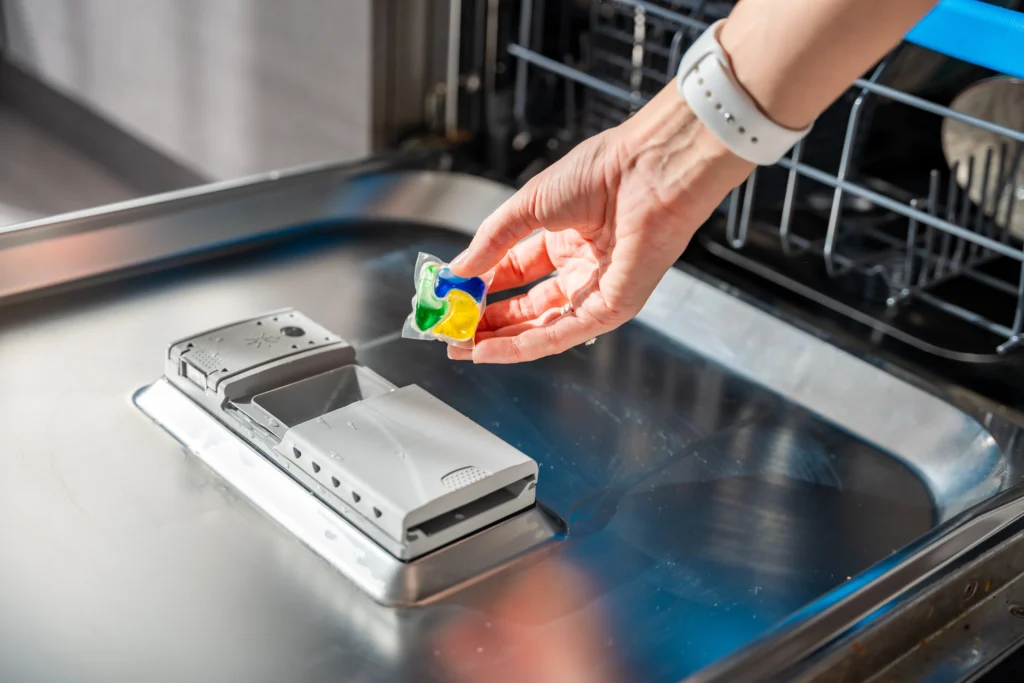
Before completing the installation, performing a test cycle ensures that the dishwasher operates correctly. Turning on the power and selecting a short wash cycle allows homeowners to check for leaks, proper water drainage, and correct operation of the spray arms.
Observing the water flow and ensuring that the dishwasher fills and drains without issues confirms a successful installation. If leaks occur, tightening any loose connections and rechecking hose alignment helps resolve the problem.
Once the test cycle completes successfully, securing the bottom access panel and making final adjustments ensures a professional-looking installation. Running a full wash cycle afterward allows homeowners to confirm that the dishwasher is fully functional.

Common Issues After Installation and How to Fix Them
If an LG dishwasher does not start after installation, checking the power connection and circuit breaker ensures that electricity is properly supplied. Ensuring that the door is fully closed and latched also prevents operation issues.
For drainage problems, verifying that the drain hose is correctly positioned and that the garbage disposal knockout plug has been removed helps resolve water flow issues. Ensuring that the high loop is installed correctly prevents wastewater from backing up into the dishwasher.
If water leaks are detected during the test cycle, confirming that all connections are properly sealed and that the water supply line is securely attached helps prevent further issues.
Conclusion
Installing an LG dishwasher requires careful attention to detail to ensure a secure and leak-free setup. By properly connecting the water supply, drain hose, and electrical wiring, homeowners can enjoy a fully functional dishwasher without issues. Positioning and securing the appliance correctly further enhances its performance and longevity.
If installation challenges arise, professional services are available for expert assistance. For LG dishwasher installation and repair in Northeast Ohio, contact My Appliance Guy for reliable and efficient service.