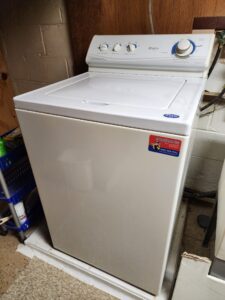
Learning how to install a washing machine starts with preparing the space before the appliance arrives. Measure the width, depth, and height of the laundry area, then compare those numbers with the washer specifications. Leave enough room behind the machine for water hoses, the drain hose, and the power cord. You should also check the floor. A washing machine needs a solid, level surface because high-speed spinning can create strong movement when the machine is not properly supported.
Before beginning how to install a washing machine, confirm that the laundry area has hot and cold water valves, an approved drain connection, and the correct electrical outlet. Inspect the water valves for corrosion or leaking before attaching new hoses. Clear the installation area so you can move safely around the appliance. If the washer must pass through narrow doors or hallways, measure those openings too. Planning these details before installation can prevent damage to the washer, walls, flooring, and plumbing.
Remove Shipping Materials And Transit Bolts
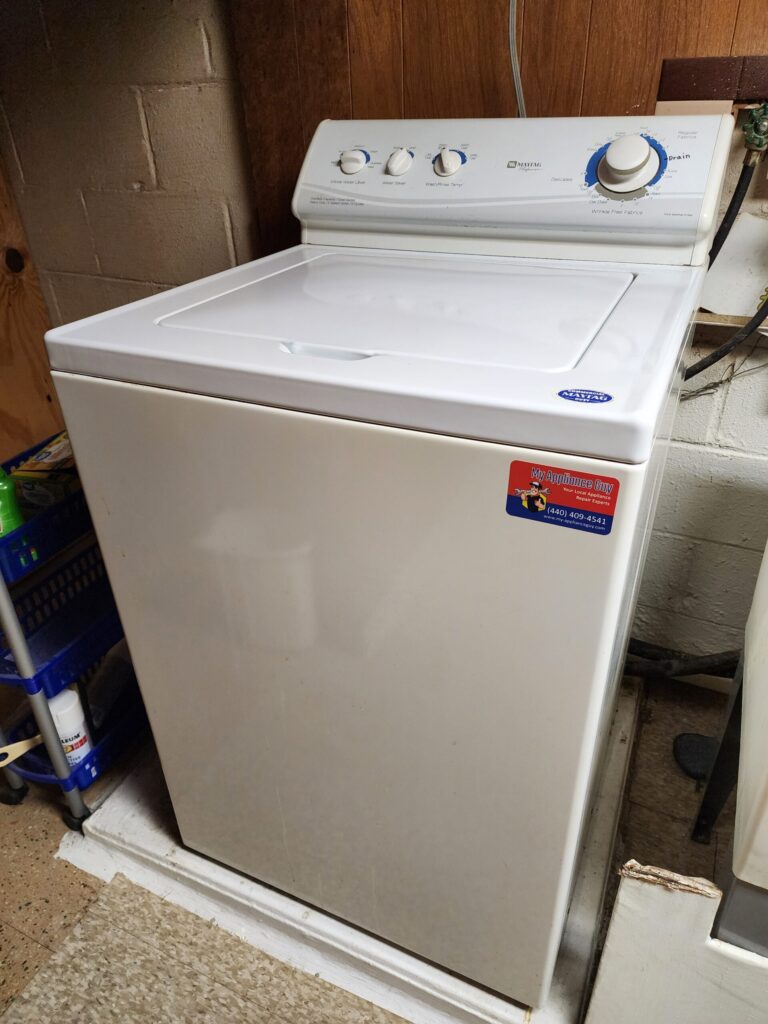
One of the most important steps in how to install a washing machine is removing all shipping protection. Front-load washers commonly use transit bolts on the rear panel to hold the drum firmly during transportation. These bolts must normally be removed before the first cycle. Operating the washer with transit bolts still installed can cause severe vibration, loud banging, and possible damage to the suspension system. Follow the owner’s manual because the number and location of these bolts vary by model.
Keep the bolts, spacers, and other transport hardware after removal. You may need them if the washer is moved again in the future. Also remove cardboard, foam blocks, plastic film, tape, and other packaging from the cabinet and drum. The Wikipedia overview of washing machines explains the basic differences between front-load and top-load washer designs. Understanding those differences can help make how to install a washing machine easier because each design may have different shipping, clearance, and leveling requirements.
Connect The Hot And Cold Water Supply Hoses
Water connections are a major part of how to install a washing machine correctly. Most washers connect to separate hot and cold water valves. Check the markings on both the appliance and hoses before attaching them. Connect the cold hose to the cold inlet and the hot hose to the hot inlet. Start each connection by hand to avoid cross-threading. Tighten according to the manufacturer’s instructions, but avoid excessive force that could damage the fittings or inlet valves.
After the hoses are connected, slowly open the household water valves and inspect each connection for leaks. The hoses should not twist, kink, or stretch tightly behind the washer. Replacing old supply hoses during installation can also reduce the risk of future leaks. If water drips from the machine itself rather than the hose fittings, professional washing machine service can identify whether the problem involves an inlet valve, internal hose, pressure system, or another component. Good water connections are essential when learning how to install a washing machine safely.
Position The Drain Hose Correctly
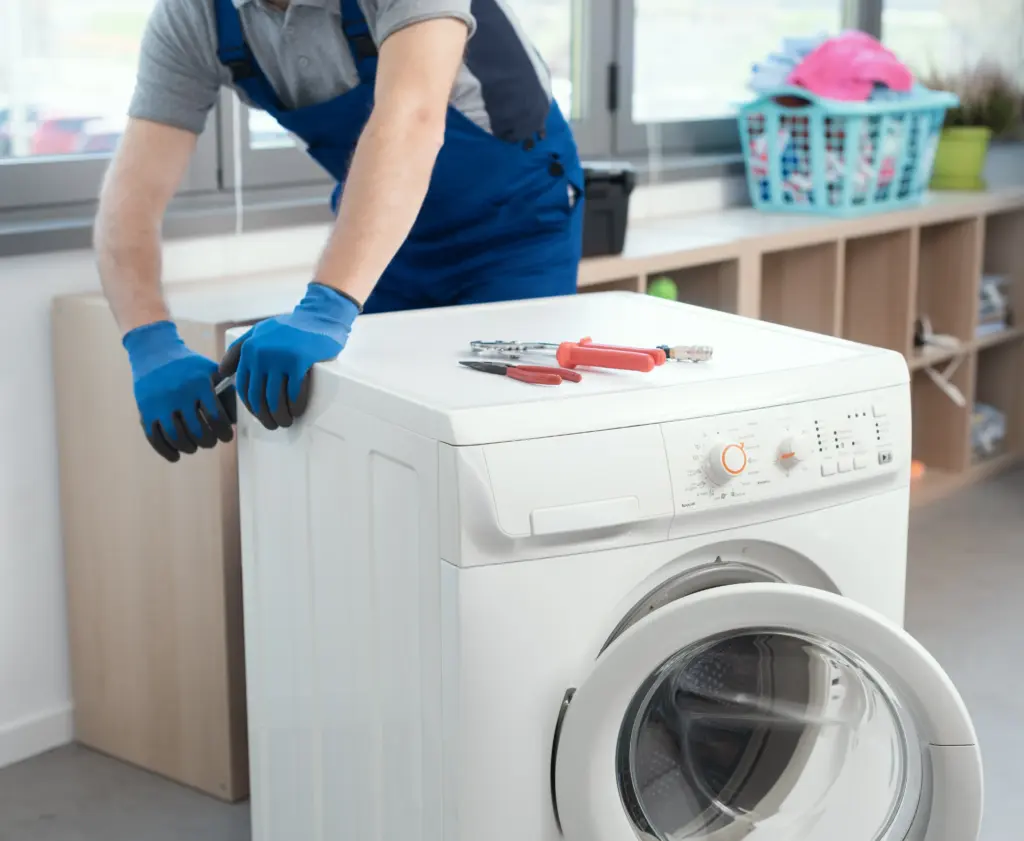
The drain hose carries dirty water from the washer into the household drainage system. When learning how to install a washing machine, make sure this hose follows the manufacturer’s height and placement requirements. The free end may connect to a standpipe, laundry sink, or another approved drain point. Some machines arrive with a drain hose guide that keeps the hose curved correctly and prevents it from slipping out during pumping.
Do not push the hose excessively far into the standpipe because improper placement can create siphoning. Siphoning may cause water to leave the washer while it is trying to fill. The hose should also remain free of kinks and sharp bends. Secure it so that strong water flow cannot push it onto the floor. If the machine later leaves water in the drum, our guide on how to drain water from washing machine can help with safe water removal. Correct drainage is a critical part of how to install a washing machine properly.
Level The Washing Machine On The Floor
Leveling is one of the most important parts of how to install a washing machine because an uneven appliance can shake violently during spinning. Place the washer in its final position, then use a level across the top of the cabinet. Check both side-to-side and front-to-back alignment. Adjust the leveling feet until all four feet make firm contact with the floor and the cabinet does not rock when pressed at opposite corners.
Once the washer is level, tighten any locking nuts on the feet according to the manufacturer’s instructions. Avoid placing loose cardboard, wood scraps, or unstable objects under the machine as permanent leveling solutions. If the floor itself is weak or uneven, that problem may need correction before the washer can operate smoothly. Understanding how to install a washing machine includes recognizing that some vibration problems come from the installation rather than the appliance itself.
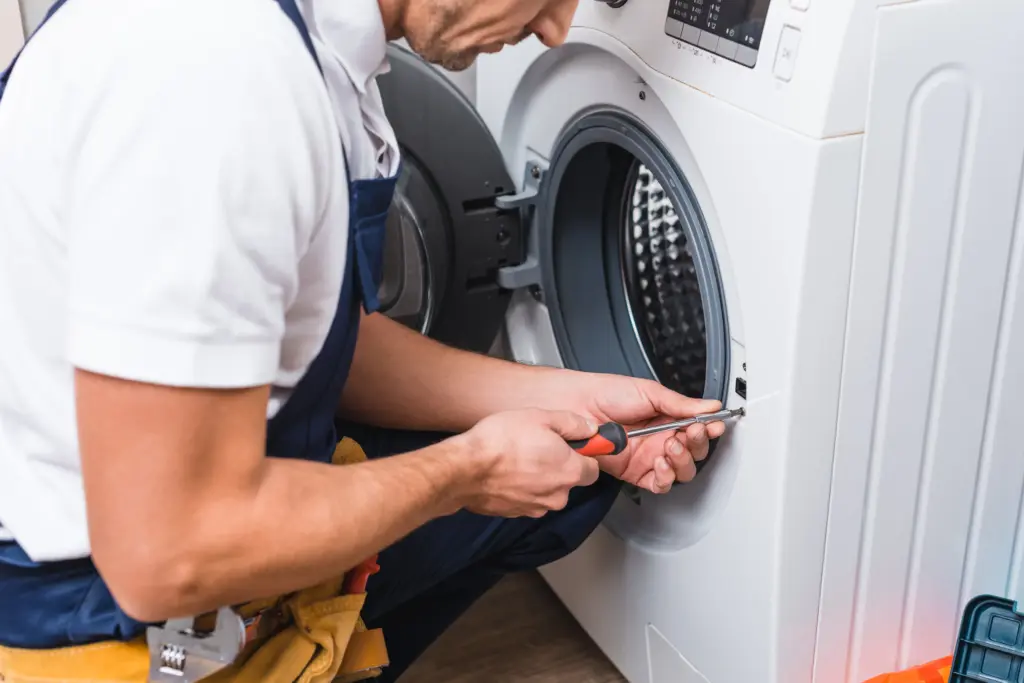
Connect Power And Move The Washer Into Position
Electrical setup is another important step in how to install a washing machine. Most household washers use a standard grounded outlet, but you should always follow the electrical requirements listed for your model. Plug the machine directly into a suitable outlet instead of using an extension cord unless the manufacturer specifically allows it. The outlet and cord should remain dry, undamaged, and easy to access. Do not use an outlet that feels loose or shows signs of overheating.
Move the washer into its final location carefully after all hoses and the power cord are connected. Watch the back of the machine while moving it so the supply hoses do not become crushed and the drain hose does not kink. Leave the manufacturer-recommended clearances around the cabinet. If you are learning how to install a washing machine in a tight laundry area, remember that future repair access matters too. My Appliance Guy’s appliance repair services cover washers and other major household appliances when installation or mechanical problems require professional attention.
Run A Test Cycle Before Washing Clothes
After completing the main steps for how to install a washing machine, run a test cycle before washing a normal load. Some manufacturers recommend a specific calibration or cleaning cycle for first use. Keep the machine empty unless the instructions tell you otherwise. Watch closely while the washer fills, washes, drains, and spins. Check all water connections and the floor around the machine for signs of leaking.
Listen for unusual banging, grinding, or excessive vibration during the test. A slight amount of movement can be normal, but the washer should not walk across the floor or strike surrounding cabinets. Confirm that the machine drains fully and that the supply hoses remain secure. If the test reveals a temporary electronic issue, our guide on how to reset a washing machine may help with basic control troubleshooting. A successful test cycle confirms that how to install a washing machine has been completed correctly before regular use begins.
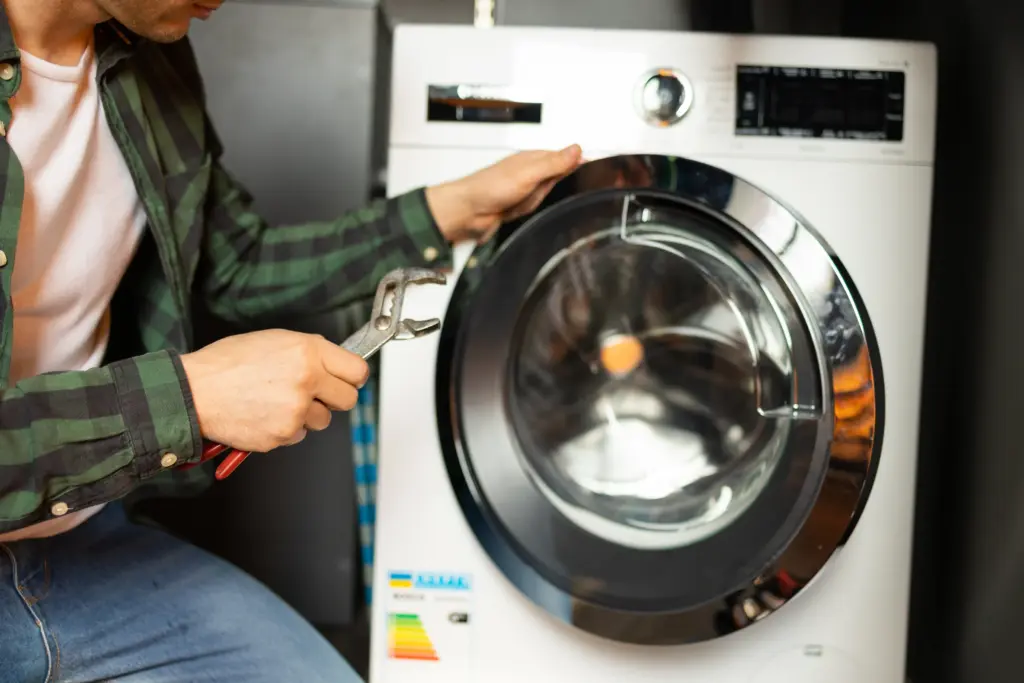
Avoid Common Washing Machine Installation Problems
Several common mistakes can cause problems after completing how to install a washing machine. Leaving transit bolts installed can create severe vibration. Reversing the hot and cold hoses can produce incorrect wash temperatures. A drain hose positioned too low or too deeply can cause siphoning. Crushed hoses can restrict water flow, while an uneven cabinet can create excessive noise. Rushing through these final checks can turn a straightforward installation into a leak or performance problem.
So, how to install a washing machine correctly comes down to careful preparation and following the manufacturer’s instructions. Remove shipping hardware, connect the water supply, position the drain hose properly, level the machine, connect power, and run a test cycle. If the washer leaks, fails to fill, will not drain, or shakes excessively after installation, contact My Appliance Guy for professional washing machine repair throughout Northeast Ohio. Correct installation protects the appliance and gives it the best chance of reliable operation from the first load.